How to Add Music to Canva with an AI Music Generator
To add music to Canva with Wubble, open Apps → Wubble AI, describe your soundtrack or upload your video, then select a result and Confirm import. Add voiceover and sound effects in the same chat.
- Written by
- Shaad Sufi
- Published
- Reading time
- 7 min read
Finding a track is only part of finishing the soundtrack
Dozens of audio apps. One soundtrack to finish.
- Music apps
- 17
- Voiceover apps
- 38
- SFX apps
- 7
All four. Together in one Canva app.
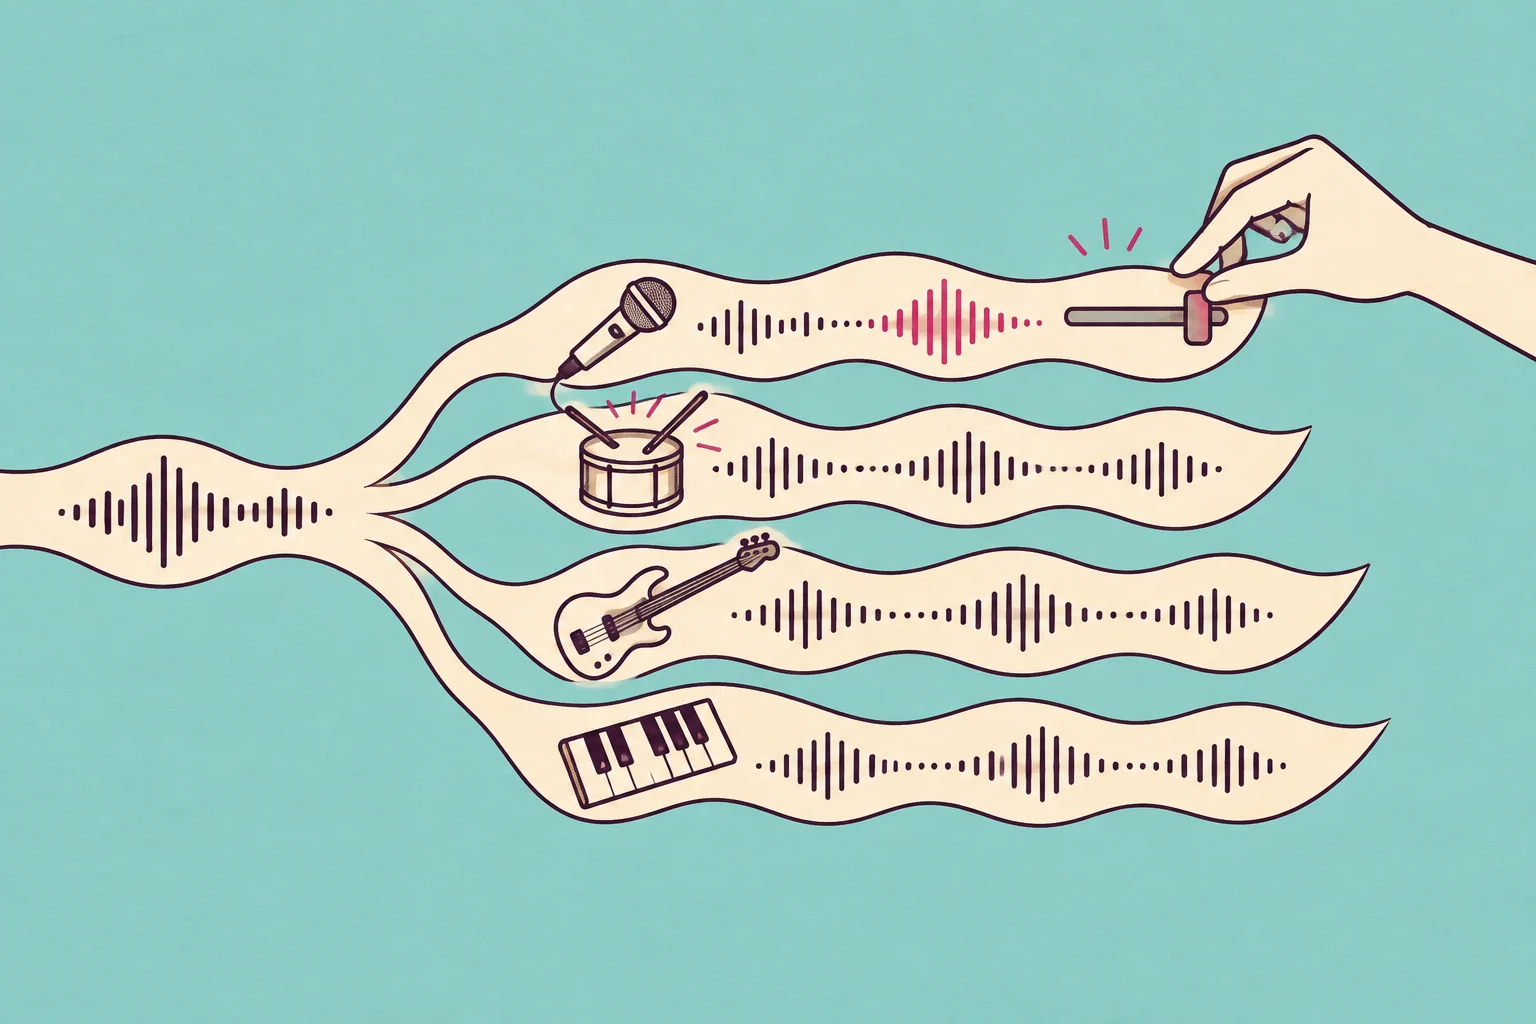
Wubble combines conversational creation, royalty-free audio, multimodal input and music, voiceover and SFX in one place.
- Conversational
- Create and refine by chatting.
“Softer drums. Keep the piano.” - Royalty-free
- Create for ads, videos and more with your Wubble license.
- Multimodal
- Upload your video. Let the visuals guide your soundtrack.
- All-in-one
- Music, voiceover and sound effects. One app inside Canva.
Go from browsing tracks to directing the sound
| What you can do | Music library | Wubble |
|---|---|---|
| Add audio to your design | ✓ | ✓ |
| Generate custom music | × | ✓ |
| Refine through chat | × | ✓ |
| Generate voiceover & SFX | × | ✓ |
| Create music from your video | × | ✓ |
Where do I find Wubble in Canva?
Start with a Canva video, presentation or animated social post that supports audio. For this walkthrough, use a video design.
- Open your Canva design and select Apps in the left sidebar.
- Search for Wubble AI and select the app. Or open Wubble directly in Canva.
- Complete any account connection shown, then choose Create → Music. For a narrated video, start with instrumental music.
Watch the complete Canva workflow
Choose a chapter, then press play.
1. Upload your video. Create music for what’s on screen.
Try this with your own café video: a 15-second sequence of coffee being poured, a close-up of the beans and a cup on the counter.
- Use + in Wubble’s chat to attach your video.
- Select Music → Instrumental.
- Ask Wubble to analyze the footage and create the sound around it.
The video supplies the visual context. Your message supplies the creative direction.
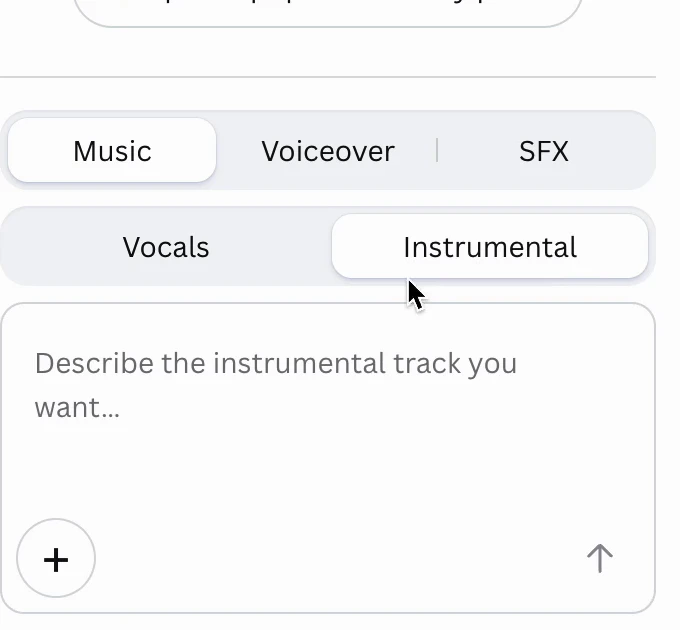
Example music prompt: Analyze this 15-second café video and create a soft jazz instrumental for it. Follow the pace of the pour, beans and final cup shot. Use warm piano, gentle bass and light percussion. Leave room for a 10-second voiceover and finish softly on the final shot. No vocals.
2. Choose the voice. Keep the same conversation.
- Voices
- 3,000+
- Languages
- 70+
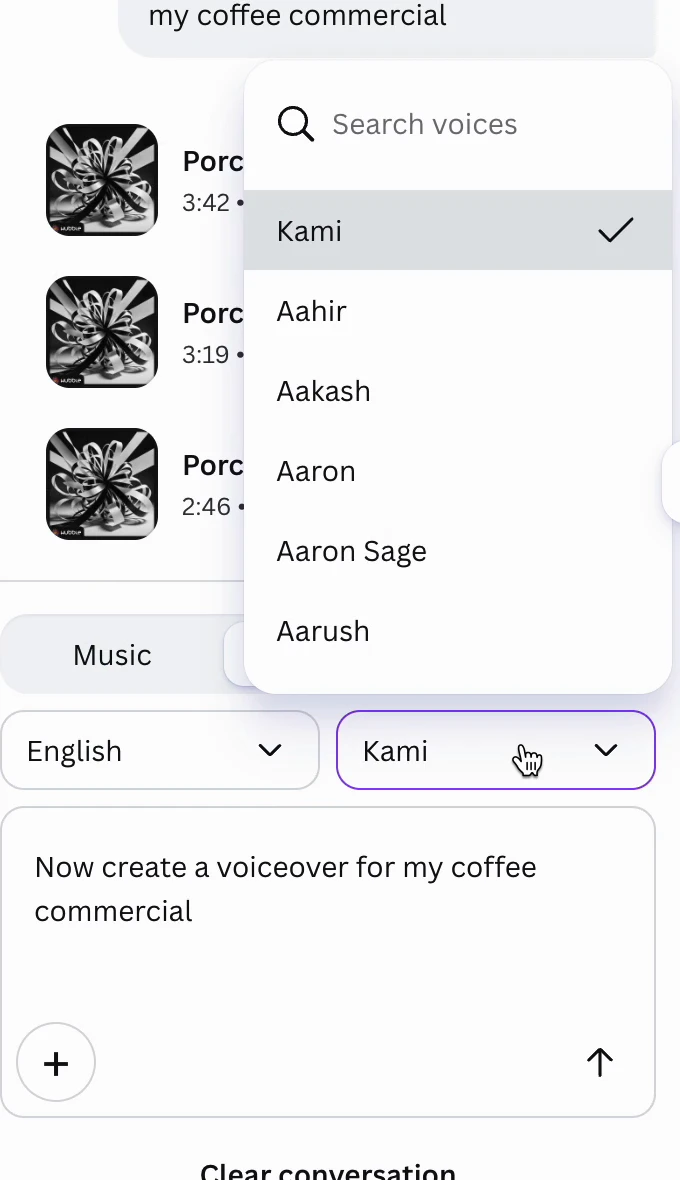
Select Voiceover, choose a language, then open the voice selector. Explore Wubble’s voice library to find the delivery you want.
For your uploaded café video, continue:
“Now write and voice a warm, 10-second narration for this video. Talk about the morning coffee ritual. Leave the final shot quiet.”
In the walkthrough, the music remains in the chat while the user chooses a voice for the same coffee commercial.
3. Edit the music and voice without starting over.
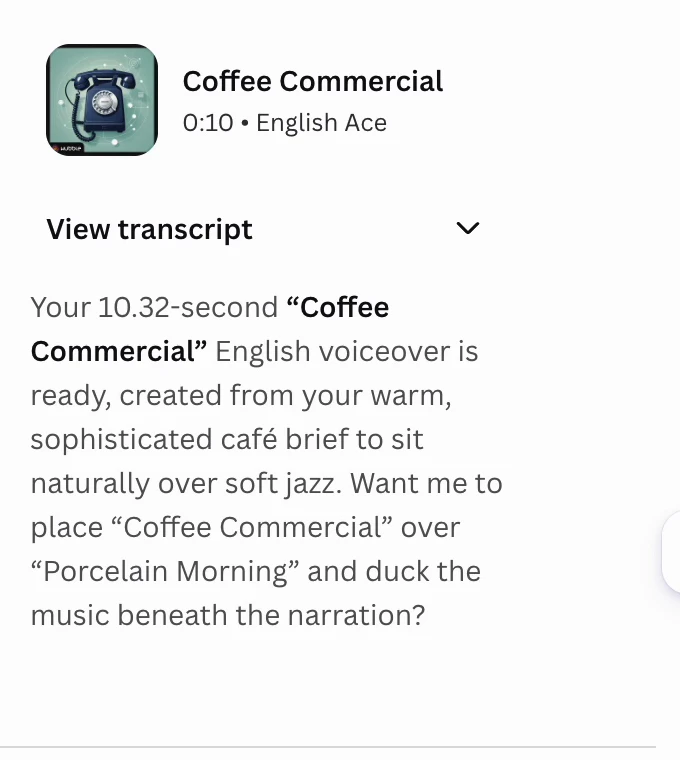
Your chat keeps the brief connected. In this frame, Wubble links the “Coffee Commercial” voiceover to the earlier “Porcelain Morning” music.
Keep directing the same project:
- Music: “Keep the piano. Make the drums softer under the voice.”
- Voice: “Keep the script. Make the delivery warmer and less salesy.”
Listen to the revision, then keep shaping what needs to change.
Hear the tutorial’s original music:
The tutorial’s original music · 15 seconds
An illustrative soundtrack excerpt. Does this energy fit your design, or would a quieter direction work better?
4. Add the sound effect that finishes the scene.
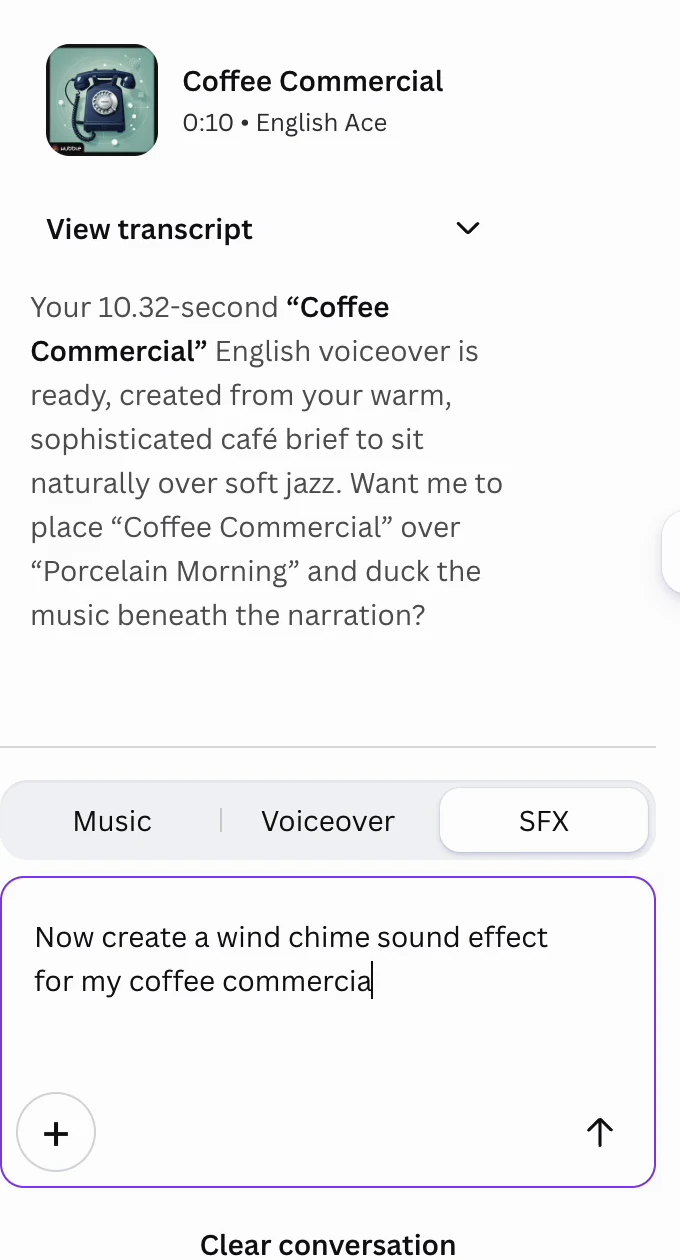
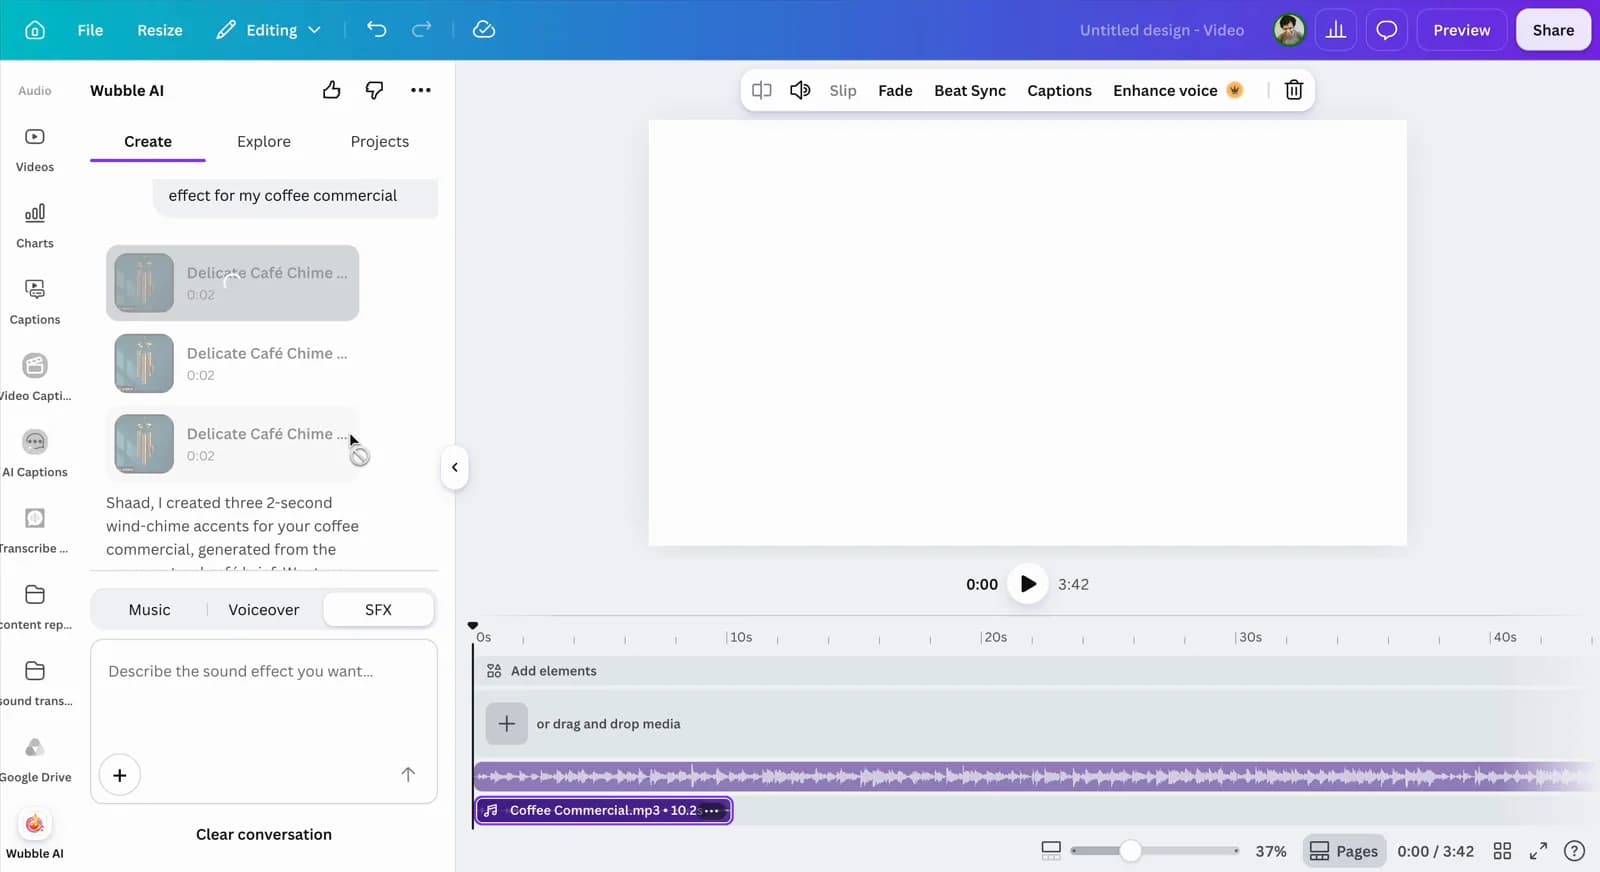
Switch to SFX and continue the conversation. The walkthrough adds a wind chime to the coffee commercial:
“Now create a wind chime sound effect for my coffee commercial.”
For your uploaded video, direct the moment: “Make it a subtle two-second chime for the final cup shot.”
Your voiceover and music stay in the same chat while you build the final layer.
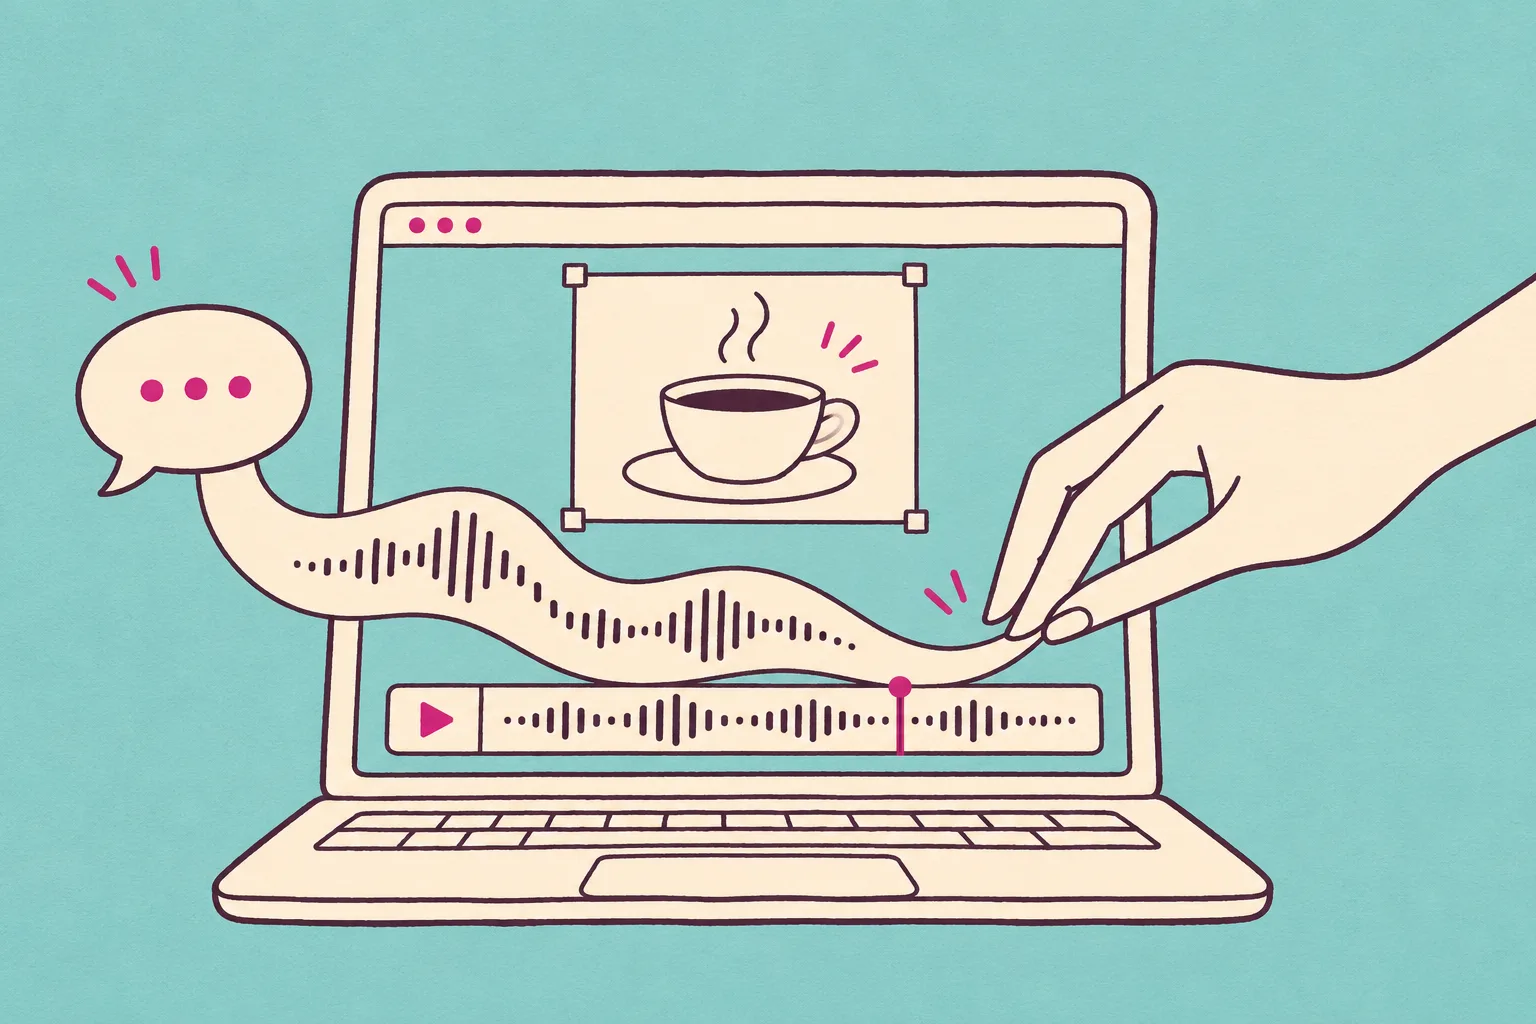
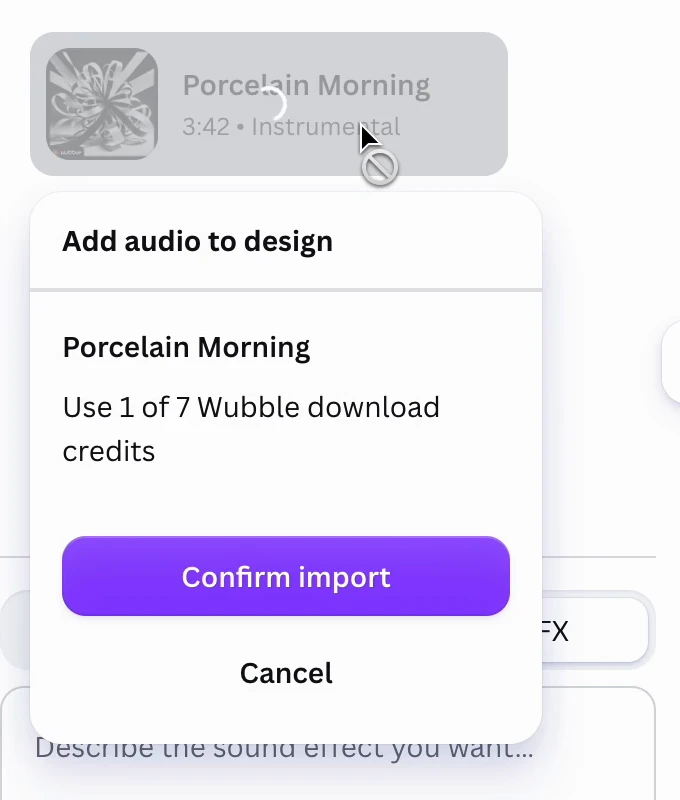
5. Click the audio. Confirm. It’s in Canva.
No audio export or re-upload. Add each result straight from Wubble to your Canva design:
- Click the music, voiceover or SFX result you want.
- Select Confirm import.
- Find it on your Canva timeline.
Repeat for the other layers. Each stays on its own track, ready to position and balance.
6. Line up your music, voice and effects
Select the timeline track. Drag its ends to trim; use Slip or Adjust to choose the section that plays.
Lower the music’s volume until every spoken word is clear. Use a short Fade if the ending feels abrupt.
Try this timing for your 15-second café video
| Time | Picture | Sound |
|---|---|---|
| 0–3s | Coffee pours | Bring in the piano; let the opening shot breathe. |
| 3–13s | Beans and preparation | Start the 10-second voiceover. Keep the music underneath it. |
| 13–15s | Final cup shot | Let the voice finish. Add the subtle chime and fade the music. |
Drag each layer into place on the Canva timeline. If the narration feels rushed, shorten its script in the same Wubble chat.
Replay with the picture. See Canva’s trim, volume and fade controls.
7. Finish your Canva video
Your audio is already in Canva. When the whole design is ready, choose Share → Download → MP4 Video for the finished video. Play it on your phone and check the voice, music and final sound effect.
Wubble in Canva: frequently asked questions
Yes. Wubble is free to use on Canva, with unlimited generations and 3 free downloads. Create and preview different ideas before choosing the audio you want to use.
Choosing a sound for your video? Explore our AI music selection guide or learn about adding music without drowning out the voice.